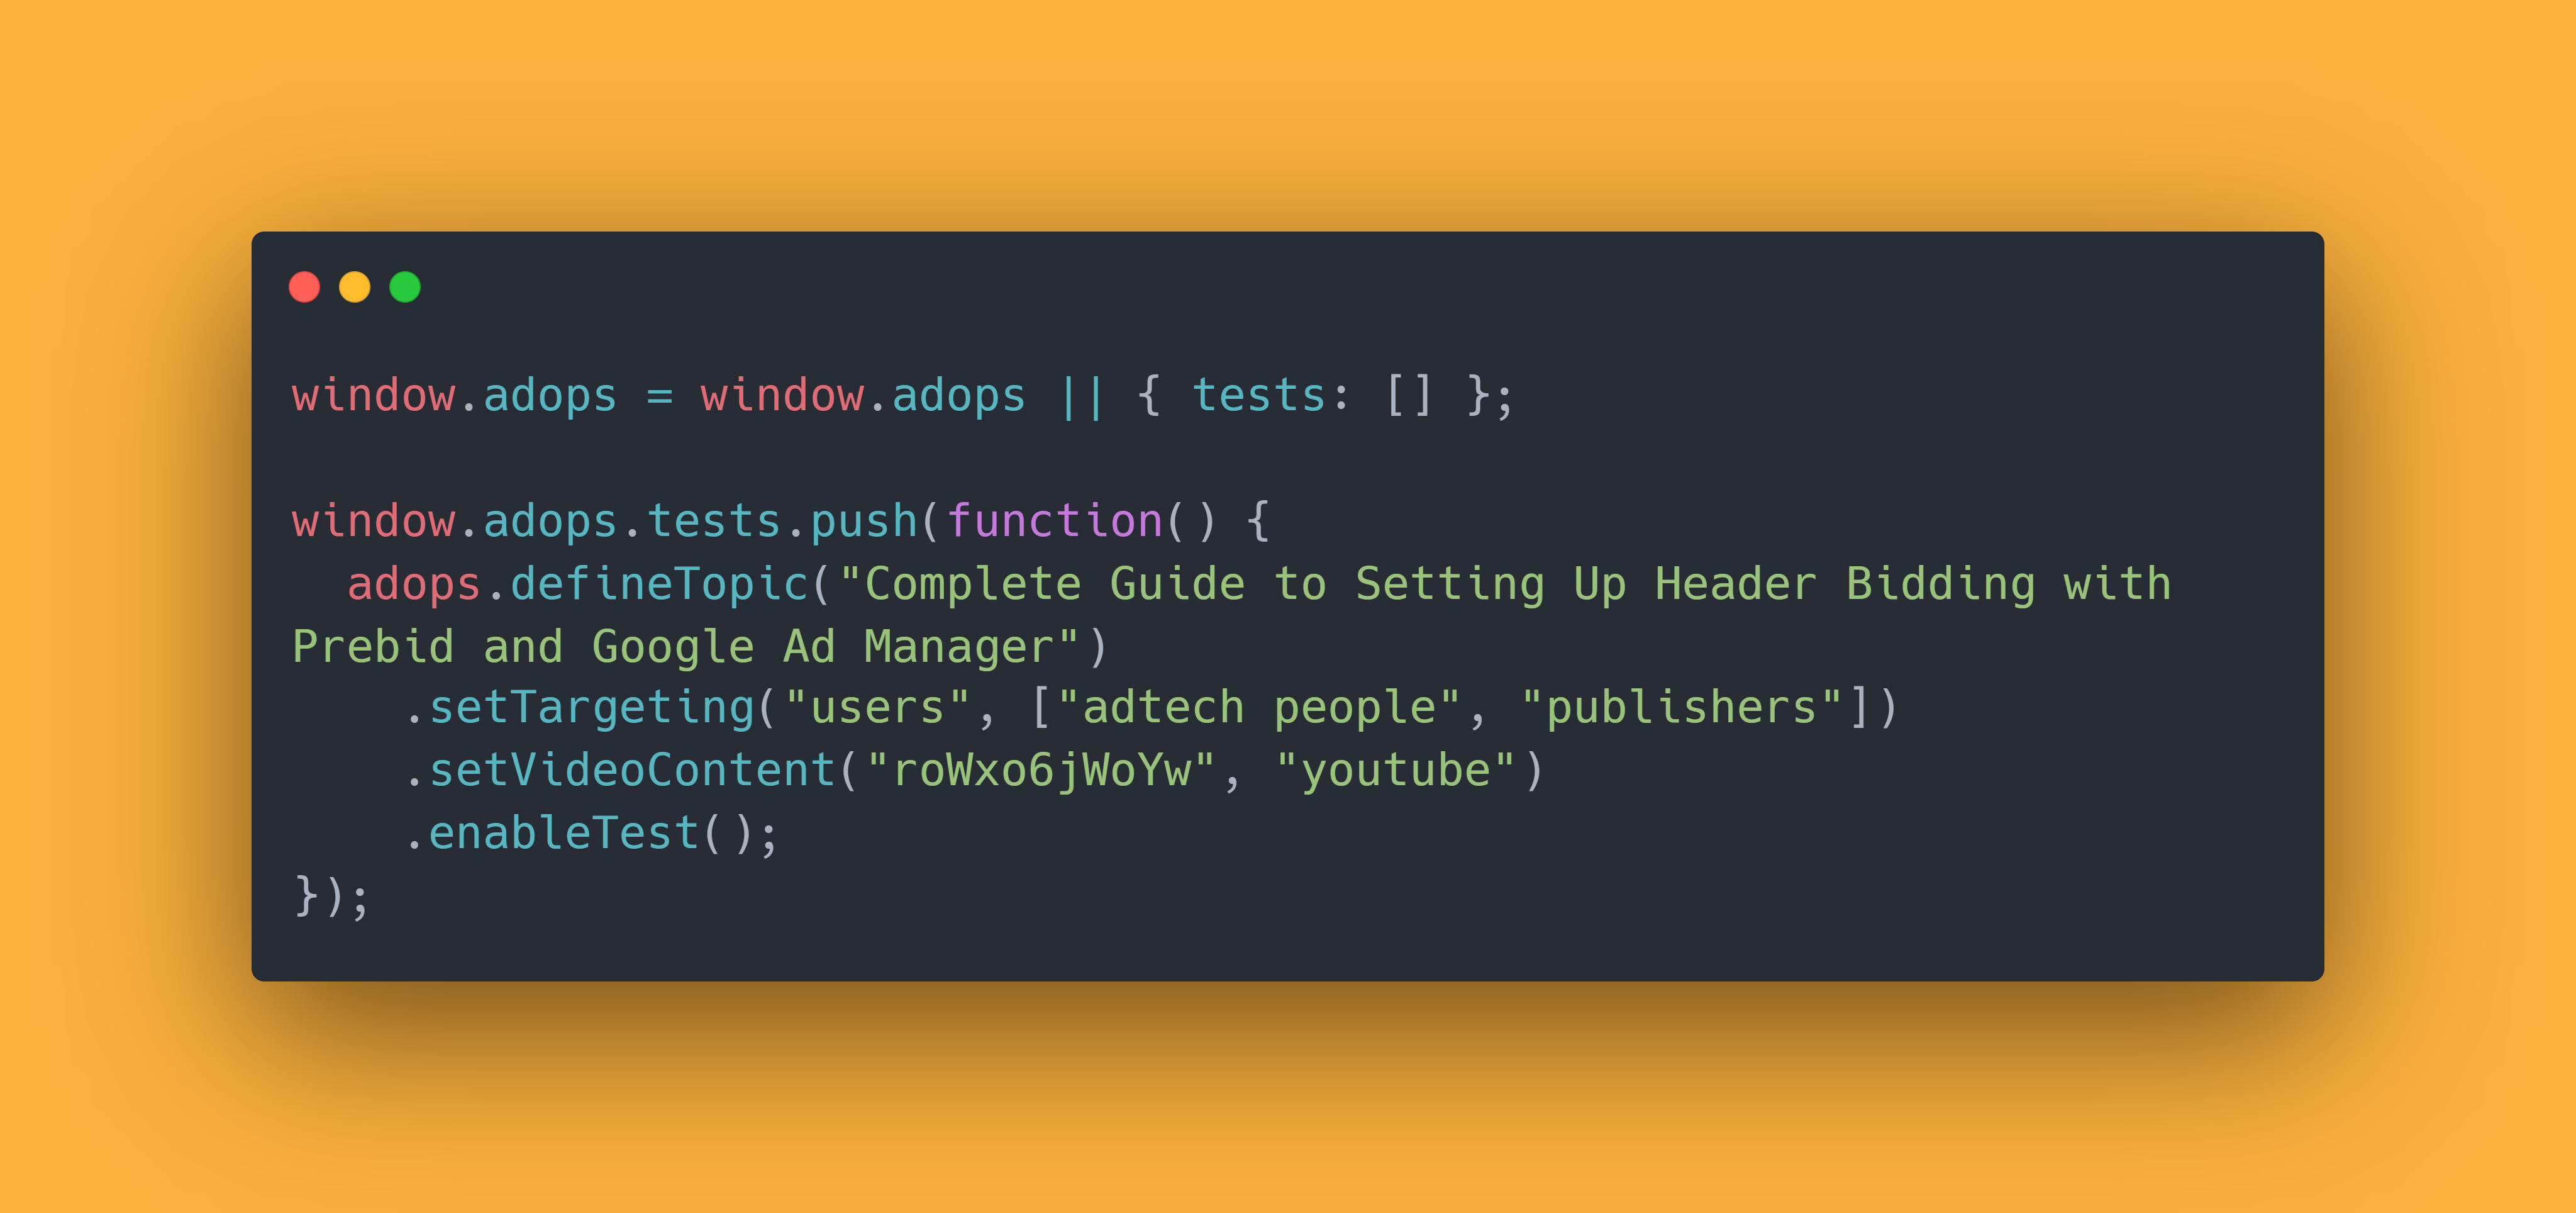
Complete Guide to Setting Up Header Bidding with Prebid and Google Ad Manager
Header Bidding Fundamentals
Header Bidding is a way of conducting a programmatic auction, which allows Publishers to request bids from multiple demand partners simultaneously and competing the auction’s Winning (highest) Bid against Google Adx and other Open Bidding Partners.
The actual auction i.e. requesting bids, getting bids, choosing a winner and sending it to the Ad Server (GAM in our case) is all done by Prebid.js. So no need to worry about that…yet. What you’re responsible for is making sure that the winning bid is taken into account and rendered if left undefeated by the Open Auction. So how does that work?
What happens on the page?
So first things first, we need to stop the requests to GAM. The reason we do this is because winning
Header
Bidding bids are sent to the Ad Server in the form of targeting Key Values appended to requests. If we
don’t
stop them, then in most cases the requests to GAM will have already been made by the time a winning bid
is
chosen. This is achieved most commonly by using Google Publisher Tags (GPT) API’s
disableInitialLoad function.
Now our winning bids can reach GAM. Awesome! To GAM however, hb_pb=1.50 means nothing more
than
topic=sports,
they are simply key value pairs which Publishers can use to target inventory more granularly. This is
why we
need to create a Header Bidding Batch.
The Header Bidding Batch is a GAM Order (or Orders, depending on granularity), containing many Price Priority Line Items with different unique rates and key value targeting criteria. Since this is a little abstract, let’s first dive into the type, rate and targeting of these Line Items.
The Price Priority Line Item type is used to fill your site's unsold inventory with the highest paying line item available. Price Priority line items can deliver unlimited impressions, can have an unlimited end date and can compete with Ad Exchange [source]. The rate of such a line item is the price at which it competes. So if we have a Price Priority Line Item with a rate $2 CPM, then in order for an Open Bidding Ad to serve it needs to beat that price. In the case of the Header Bidding Batch we have many of these line items with rates ranging from $0.01 to $20 or more CPM. If we just do this and let them target everything i.e. every request, then the rate which Open Bidding will have to beat every time is 20 bucks, since that’s the highest available price. What’s missing is the custom targeting.
The custom targeting’s job is to make sure that inventory is targeted by only the Header Bidding Batch
Line
Item, whose CPM rate matches the price of the inventory’s Header Bidding winning bid. So if for example
Xandr
(prev. Appnexus) wins the auction for Ad Unit "/1234/leaderboard" with a bid of $1, then
when the
request to the
Ad Server is made it will also contain the winning bid’s value hb_pb=1.00. Once it reaches
GAM, it
will only be
targeted by the $1.00 Line Item, because its targeting will only allow inventory, which has a
hb_pb
key, whose value is equal to 1.00. All other Line Items won’t have their targeting criteria
met,
since they’ll be targeting
other values. The one for $20 CPM will only target requests, which contain hb_pb=20.00, the
one for
$2 -
hb_pb=2.00 and so on.
Creating the Header Bidding Batch
There is one very important choice which you need to make before you start creating the Batch. How granular do you want your bids to be? What granularity means is simply how close do you want the actual winning bids to be to the price at which they compete in GAM.
Let’s look at an example. Prebid.js provides the following predefined levels of granularity:
- Low;
- Medium;
- High;
- Auto;
- Dense.
The low one goes from $0.50 to a maximum of $5.00 by increments of 50 cents. So if you get a bid for 1.88
it
will be rounded down and sent to the Ad Server as hb_pb=1.50. If you get bid of $42 it will
be
floored and sent
as hb_pb=5.00.
You’re not required to choose from the predefined levels of granularity, but for this tutorial we’ll use the Auto one. I’ll make a separate tutorial, explaining how custom price granularity can be set up.
The Auto granularity has the following structure:
| CPM | Granularity | Example |
|---|---|---|
| Equal or less than $5 | $0.05 increments | $1.87 rounded to $1.85 |
| Greater than $5 and equal or less than $10 | $0.10 increments | $5.09 rounded to $5.00 |
| EGreater than $10 and equal or less than $20 | $0.50 increments | $14.26 rounded to $14.00 |
| Greater than $20 | $20 cap | $42.06 rounded to $20.00 |
Now that we’ve chosen our granularity, we need to create an order and 170 price priority line items. The quickest way to do this would be to do it via GAM’s API, but I’ll explain how to do this in a separate tutorial. For now I’ll show you the simplest way to do it by hand.
- Create the Order;
- Create one Line Item and copy it 170 times;
- Edit the Line Items, so that their targeting and rates are unique and correct.
- Create however many creatives you want. For this example let’s go with 5 per size;
- Bulk associate the creatives with the 170 line items;
- Approve Order and Activate Line Items;
- DONE.
Setting up Prebid
We’ll start with a simple page, where only our GAM Ad Units are defined and displayed and work our way towards enabling Header Bidding.
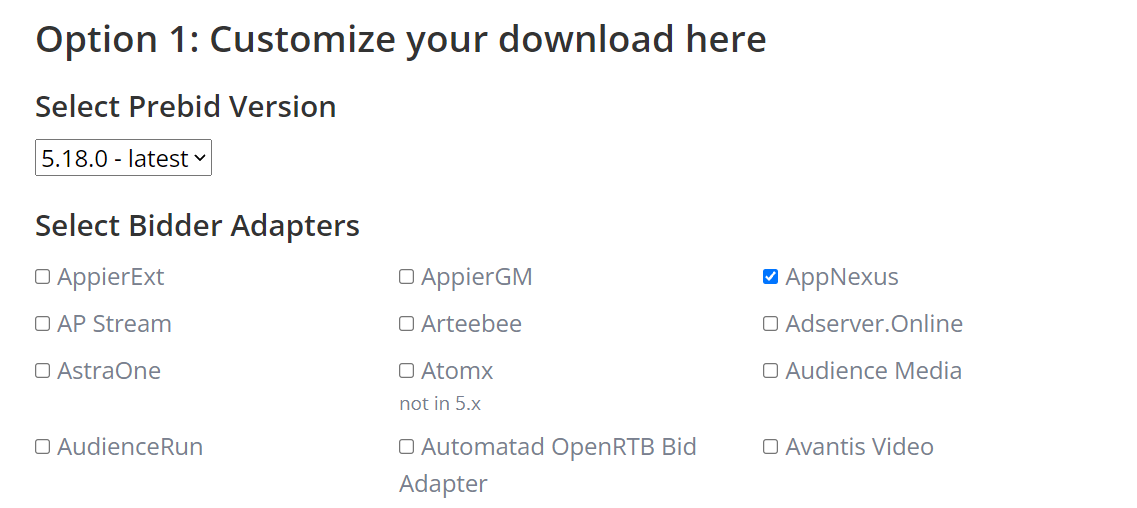
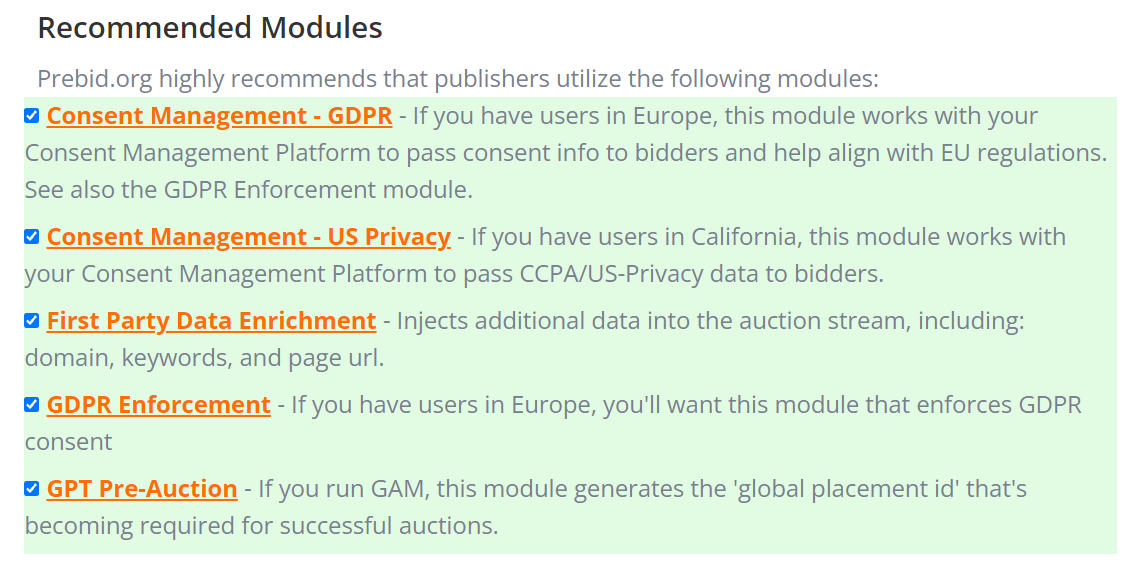
Next thing we’ll be doing is generating our Prebid bundle with the module and adapters we want to use. The simplest manual way to generate this is to just go to Prebid’s download page, choose a version or leave the default i.e. the latest one, then check the Adapters and Modules which you want to use and click on the “Get Prebid.js!” button. I’ll be using Prebid Version: 5.18.0 and will only include Xandr’s Adapter (still listed as Appnexus) and the Prebid's recommended Modules:
- Consent Management - GDPR;
- Consent Management - US Privacy;
- First Party Data Enrichment;
- GDPR Enforcement;
- GPT Pre-Auction.
This will download a javascript file to your machine, which you need to host either on your site’s server or a CDN. Either way, you need to then insert the script in the head of the page, just below gpt.js.
Now we'll create our Prebid Bidder Settings. Since each bidder can have different properties, we'll
consult the
Prebid Bidder Params page to see what we
need to
setup ours i.e. Appnexus. Turns out we must only provide a placementId, which is nice.
Create a variable called adUnits and make it an array var adUnits = [];. In it create an
object
for each Ad Unit, which you want to participate in the header bidding auction. The objects should have
the
following properties:
code- either the Ad Unit's path or its element id e.g."/19968336/header-bid-tag-0"or"div-1"mediaTypes- this property's value should be an object. It's where we specify what ad formats should be requested for this ad unit. In our case it will only be banner ads, so make the property equal to{ banner: { sizes: [[300, 250], [300, 600]] } }. The sizes inmediaTypes.banner.sizesare the same as the ones we use to define our Ad Units;bids- an array in which each bidder, which we want to be able to bid for this ad unit, should be added (as an object) with its name and settings.
Additionally we need to define two more variables: PREBID_TIMEOUT and
FAILSAFE_TIMEOUT. Place them above the adUnits array. Here's what they do:
PREBID_TIMEOUTalso referred to as "Auction Timeout" defines the amount of time the page has to coordinate the header bidding activities. Determining this value is a delicate balance: too short, and header bidding won’t have enough time to take place; too long, and revenue may go down due to delaying the ad server call to the point where users have left the page. Publishers must determine the value that works for them, considering a balance of factors: average user time on page, direct sellthrough, value of different ad channels, and average user network delay" [source];FAILSAFE_TIMEOUTis a timeout entirely outside of Prebid.js. It’s a JavaScriptsetTimeout()that publishers should consider establishing after the Prebid.js code is loaded. It’s a safety net that invokes the ad server callback in case something goes wrong. In all regular scenarios, Prebid.js will have already invoked the callback before this timeout is reached. This value should be much larger than the auction timeout" [source].
Both should be assigned the time you want to wait for the auction or for the ad server to be initiated in
milliseconds i.e. seconds * 1000. I'm going with a 800ms auction timeout
var PREBID_TIMEOUT = 800; and a three second failsafe timeout
var FAILSAFE_TIMEOUT = 3000;. What you should end up with is something which looks like
this:
WE'RE ALMOST DONE!
Place the three variables in the same script, where your GAM ad units are defined. Like so:
Last step
Add the following code right under the adUnits array:
That's it! We're done! Your page now looks like something like the following and when you load bids will be requested and received and the ad server should be called with the Prebid auction key values appended.
I hope you found this guide useful! If you’re having difficulties implementing Header Bidding in real life, meaning not on a test page with two Ad Units, you can submit your issue on AdopsTests' subreddit or github. Thank you and see you in the next one!